
- Create a new project (New>Project… from file menu)
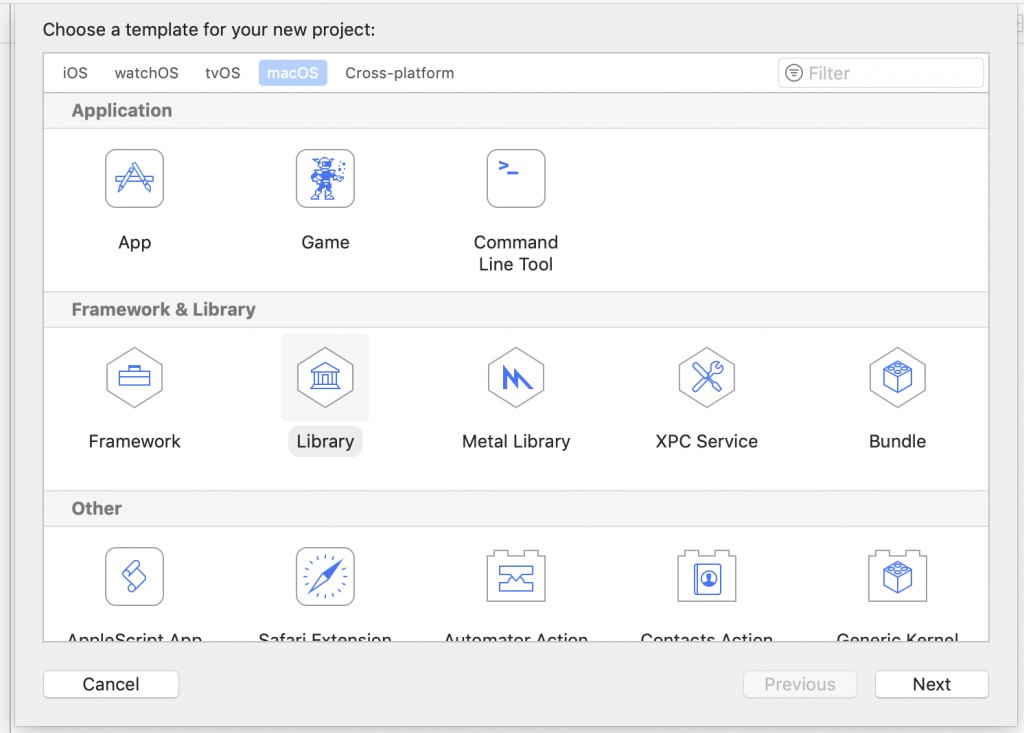
- Select macOS in the template dialog, and Library under Framework & Library
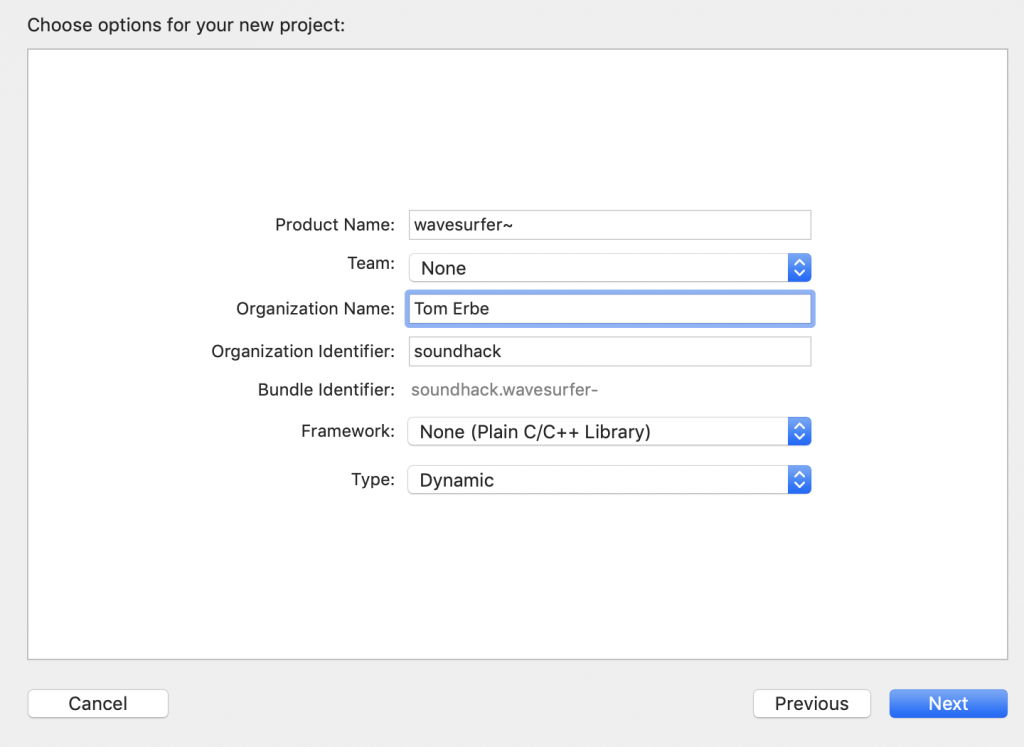
3. Enter a “Product Name:”, select None for “Framework:” and Dynamic for “Type:”
4. Click on your project (blue icon in left column) and Build Settings in the center panel. Set the following:
Deployment
    Installation Build Products Location /
    Installation Directory (your project directory)
    Skip Install No
Linking
    Other Linker Flags -flat_namespace -undefined suppress
Packaging
    Executable Extension pd_darwin
    Executable Prefix (delete lib, leave empty)
    Product Name (your external name)
Search Paths
    Header Search Paths /Applications/Pd-0.51-4.app/Contents/Resources/src (change for Pd version)
5. Add or create your external source code file (externalname.c). You might want to start with a known working file (obj1.c or dspobj.c) to start.
6. You should now be able to build your external. Go to the product menu and select Build.
7. To debug your external, create a .pd file in the folder that your external resides. Assuming you started Pure Data to create this file, your next step is to connect the debugger.
8. Go to the Debug menu and select Attach to Process. Do not attach to Pd, instead, scroll further down to the “System” section and select pd. This is the part of Pd that actually loads and runs your external.
9. Now you can enter break points in the .c file. Xcode will stop execution at these points so that you can inspect variables and check whether things are working properly.
10. Add your external to the .pd file you created in step 7. If all goes well, Xcode will jump to the foreground when it stops at the break point. Now you can look at variable and step through your code one line at a time.